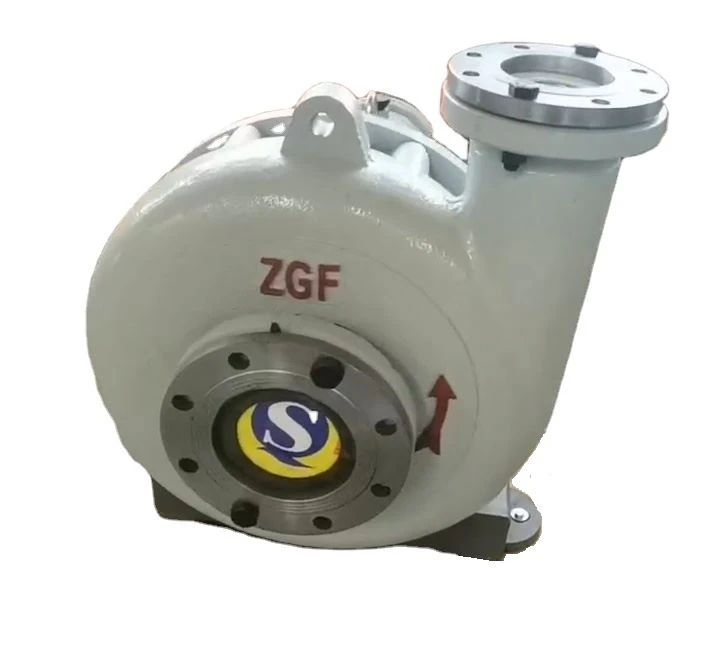
Ceramic Pump Operator Training: Five Habits That Prevent Breakage
At an overseas site, a ceramic pump's service life is often set before it ever runs. The first unpacking, first pipe hookup, first cleaning, and first startup and shutdown do more damage than most people expect. Ceramic is hard and corrosion resistant, but it is brittle. It takes compression well and tension poorly. A bump, a load on one side, or a quick temperature change can leave a crack you can't see. The pump runs for a while, the crack grows, and the site calls it a pump quality problem. A lot of the time, the damage came from the way it was handled. Team leaders can use this before installation. Ten to fifteen minutes is enough.
1. Don't grab the ceramic.
When you unbox, check that the pump body, flange openings, and ceramic internals are still supported by the original packing. Move the pump by the base or a proper support frame. Don't lift it by the pipe openings. Don't grab ceramic wetted parts. If two people carry it, call out the moves and set it down easy. No lifting fixture? Build a simple wood cradle. Don't let ceramic parts hang in the air. It sounds basic, but it prevents a lot of early hidden cracks.
2. Line it up first. No hammering, no prying.
Ceramic mating surfaces don't like point loads. When you pull the end cover, impeller, or mechanical seal, use the right puller or a jig that applies even pressure. Know which way the force is going before you move anything. No metal hammer. No screwdriver in the gap. When you reassemble, clean the mating faces and seal grooves. Make sure the O-ring isn't twisted. Push straight along the axis. If it won't go, back off and check dimensions and burrs. Site rule: no hammering any ceramic part to "line it up."
3. Tighten bolts diagonally, in stages, and check torque.
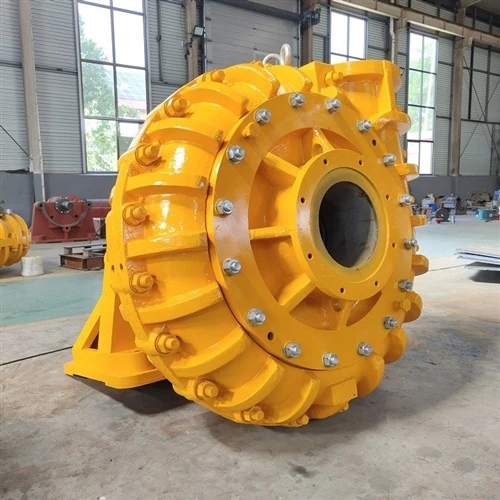
Don't tighten one side all the way and call it good. Hand-tighten all bolts first. Then bring them up in two or three passes, diagonal pattern. Finish with the manufacturer's torque table. Keep the torque wrench calibrated. Post the torque values on the tool cart in the local language. Over-tighten one side and the ceramic ring or pump body sees bending stress. Add heat, and it cracks. In training, have each operator do one diagonal pass by hand. That sticks better than the manual.
4. Let the pipe come to the pump. Don't pull it over with bolts.
Piping at overseas sites rarely lines up. A common mistake is using the bolts to drag the pipe onto the pump flange. That leaves pipe weight and assembly stress on the pump opening for good. Correct way: let the pipe center itself. Get the flange faces parallel. Add the gasket. Snug the bolts diagonally. Pipes need their own supports. The pump flange carries no pipe weight. Watch the suction line. Don't force it. After hookup, shake the pipe by hand. It should not feel bound up.
5. Cleaning and startup/shutdown: watch heat, drain it, don't run dry.
Clean with a soft brush and neutral cleaner. Don't scrape ceramic. Don't steam it and then hit it with cold water. That's thermal shock. Before startup, prime and vent the pump. Make sure product is in the chamber before you hit start. Even a short dry run can cause friction and heat. After shutdown, drain per the process. This matters with crystallizing or solids-laden fluid. After every cleaning, look for cracks and check the seal faces. If something looks wrong, stop. Don't run it with a known problem.